


DIY your kids a creative stool
This diy wooden stool is recommended for woodworking enthusiasts with children at home. It is not exquisite, but it is simpler than other small woodworking furniture, and the shape is in line with the aesthetics of children.

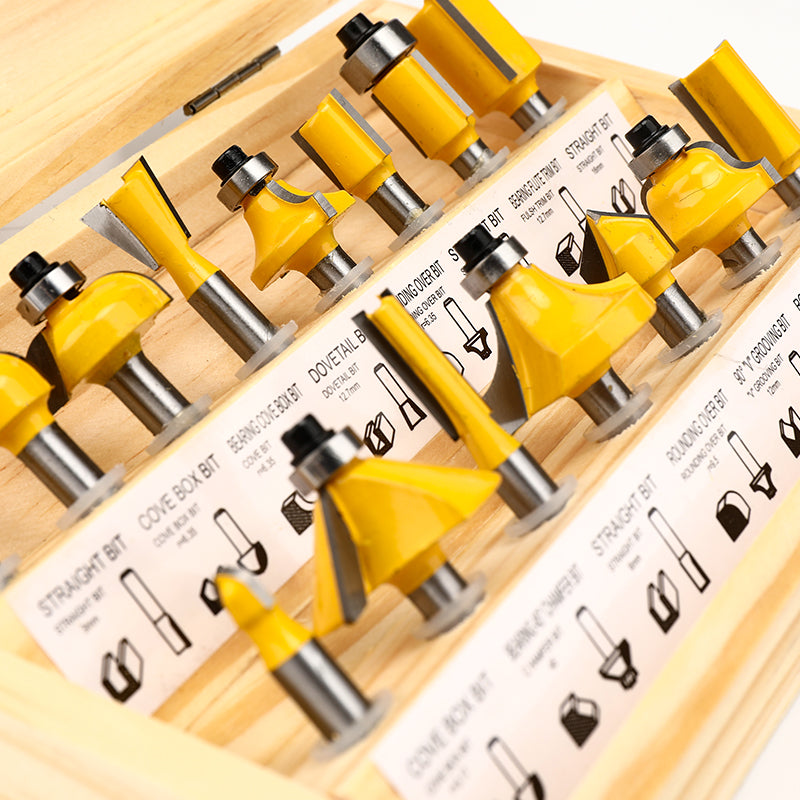
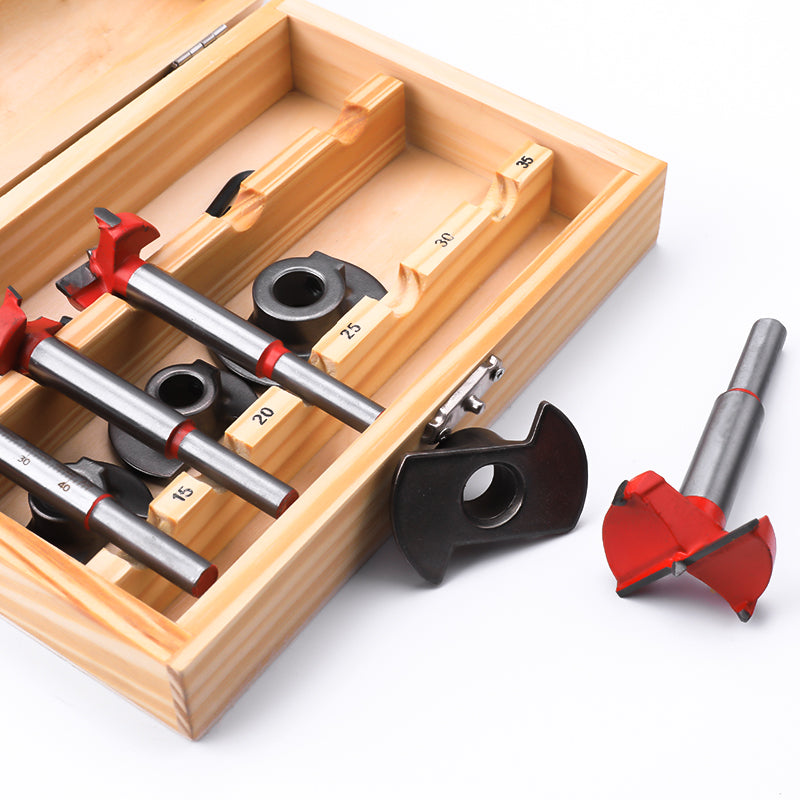
You need:
Wood planks, woodworking planes, flatbed planers, bench drills, electric drills, Tootock handsaws, chisels, Tootock tape measure, sandpaper, pencils, paint, etc.

The stool is very practical in life. The production of a small stool seems simple, but it is technically difficult, very practical, and has a lot of room for technical expansion. You will see the pictures below it’s more easy to know how it’s done.
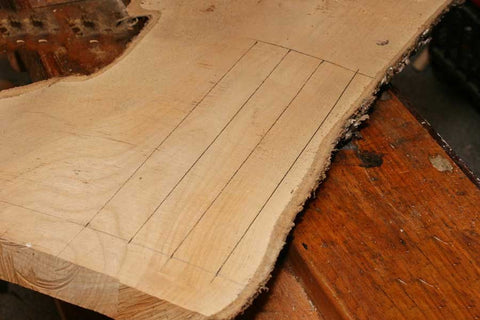
Step 1: Cutting
Draw design sketches, sawing, drilling, and installation first. The size of the stool should be tailored to your baby's body shape. First, we saw the design of the bench we designed. First, we should draw lines according to the size on the prepared plank, and then start cutting.


Step 2: Make the stool surface
The stool leg of the bench has a two-way oblique tenon with a slope of 5:1. It is difficult to make the tenon and tenon of the stool surface and the stool foot. For novices, it is best to draw the line on both sides of the stool. Chisel a model, drill through the eye with a small drill bit of an electric drill, mill it again with a large drill, and finally mill the eye with a chisel to ensure accuracy.


Step 3: Make the foot of the stool
When sawing, we use a hand saw. When sawing wood, hold the saw with your right hand, with the saw tooth tip down, and press the wood against the work bench with your left foot to prevent the wood from jumping up and down or moving left and right.

When sawing, you should slow down first and then fast. When the wood is about to be sawed, use your left hand to hold the wood to be cut firmly to prevent the wood from tearing along the wood grain or falling and hurting your feet. The tenon of the foot of the stool and the crossbar are all single-shoulder oblique tenons. As long as the line is drawn correctly, it is not difficult to make.

Step 4: Assemble
The side of the stool and the toes should be on the same vertical line or a little bit of the toes should be better. To drill the stool, you must grasp the angle of the two-way slope of the mortise, and you can do it slowly. Remember to change the angle when punching both sides of the through tenon, and then put the wooden wedges on the through tenon on the stool surface after installation.


Step 5: Finished
Finally, You should learn to make large and small benches, instead of sticking to the basic dimensions of the case, but should mainly determine the basic dimensions according to the requirements of use and the principles of ergonomics. You can also determine the condition of your own existing materials by root sawing, and just use it flexibly.

Sample Block Quote
Praesent vestibulum congue tellus at fringilla. Curabitur vitae semper sem, eu convallis est. Cras felis nunc commodo loremous convallis vitae interdum non nisl. Maecenas ac est sit amet augue pharetra convallis nec danos.
Sample Paragraph Text
Praesent vestibulum congue tellus at fringilla. Curabitur vitae semper sem, eu convallis est. Cras felis nunc commodo eu convallis vitae interdum non nisl. Maecenas ac est sit amet augue pharetra convallis nec danos dui.
Cras suscipit quam et turpis eleifend vitae malesuada magna congue. Damus id ullamcorper neque. Sed vitae mi a mi pretium aliquet ac sed elitos. Pellentesque nulla eros accumsan quis justo at tincidunt lobortis denimes loremous. Suspendisse vestibulum lectus in lectus volutpat, ut dapibus purus pulvinar. Vestibulum sit amet auctor ipsum.


